Self Portrait
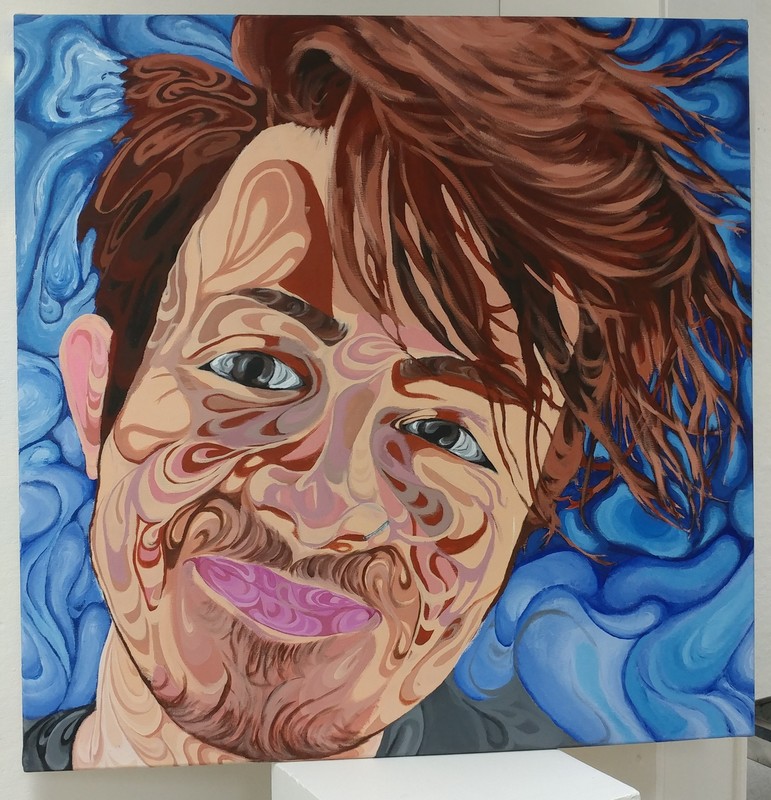
"Self Portrait I"
91 cm x 91 cm
Acrylic on canvas
December, 2016
91 cm x 91 cm
Acrylic on canvas
December, 2016
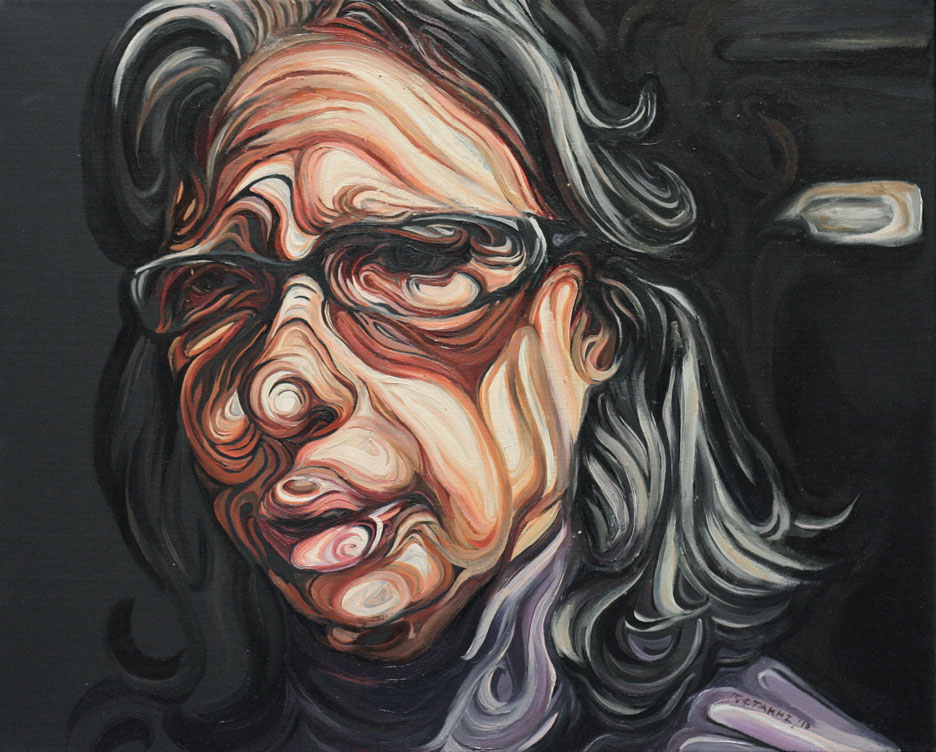
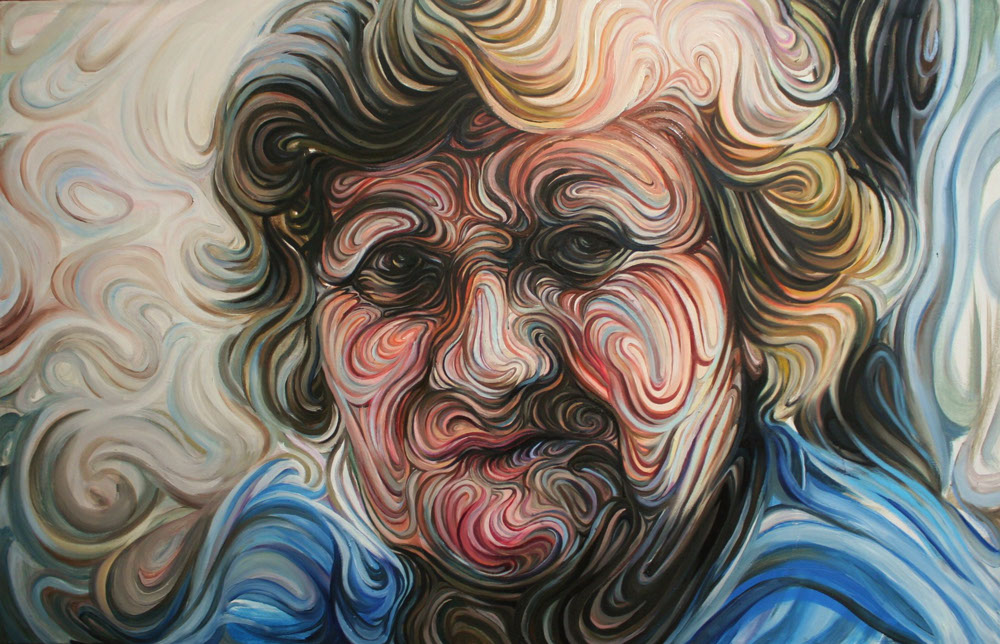
With the self portrait I attempted to use "liquid-like" swirls and and loops to give off a sense of continuity much like Nikos Gyftakis does in his work. The fluid motion of the swirls is supposed to represent the emotion behind the face and the restriction of using solid or straight lines will also deliver the continuity/emotion theme. I tried to use colors that you would actually see on a face and not add any additional colors for any other reason, to me this would keep the painting a bit more surreal.
Inspiration Artist/Work
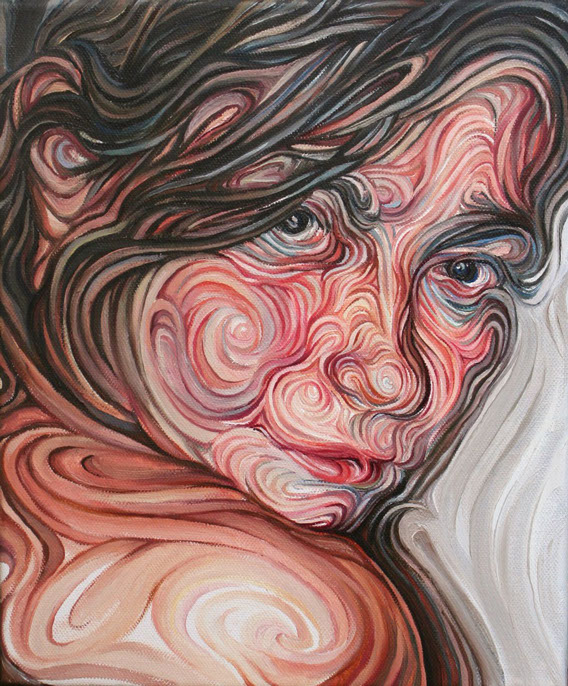
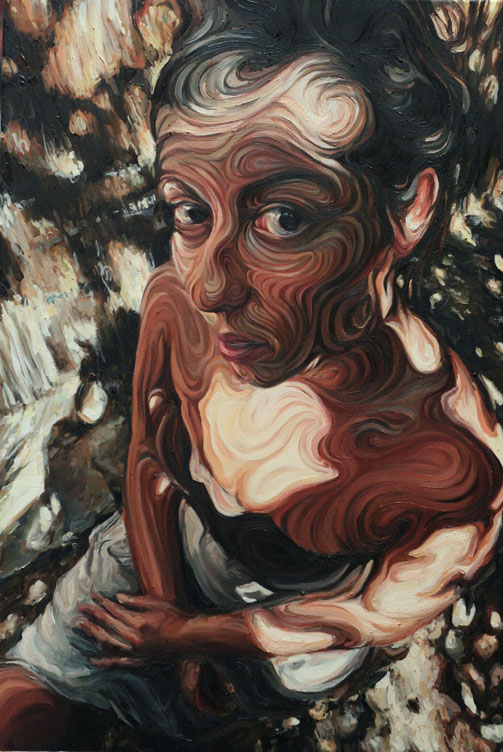
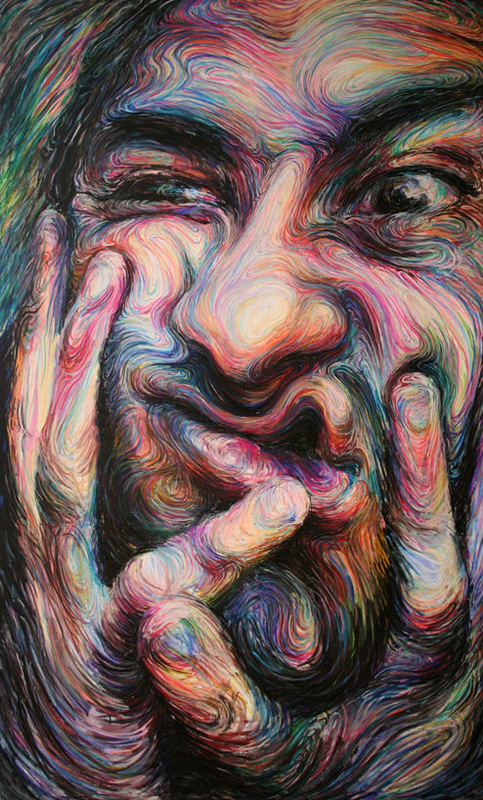
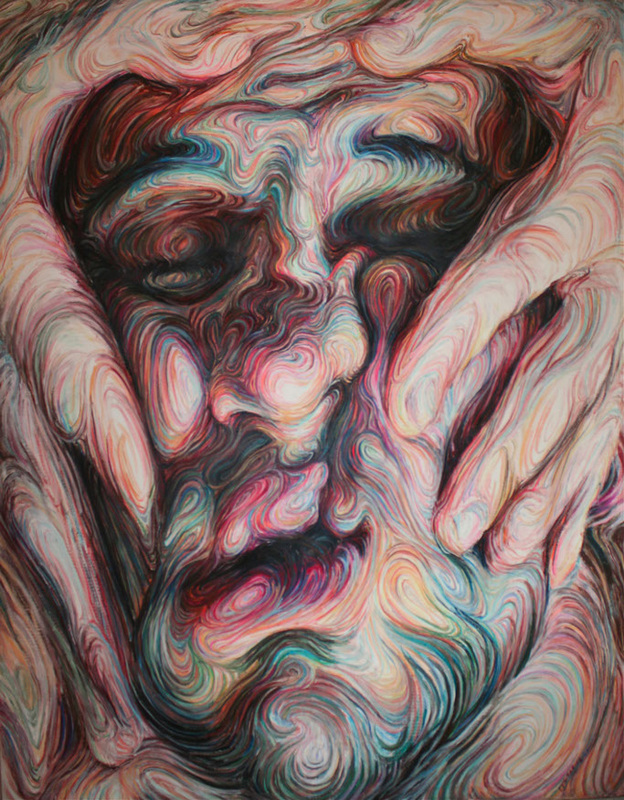
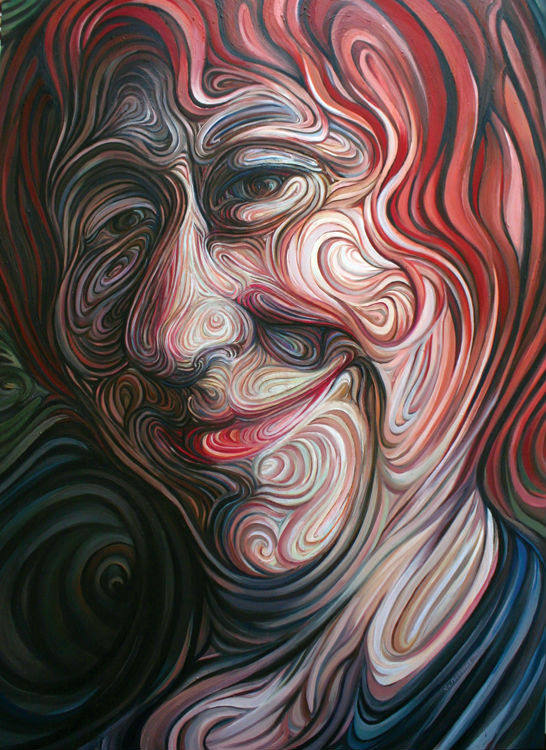
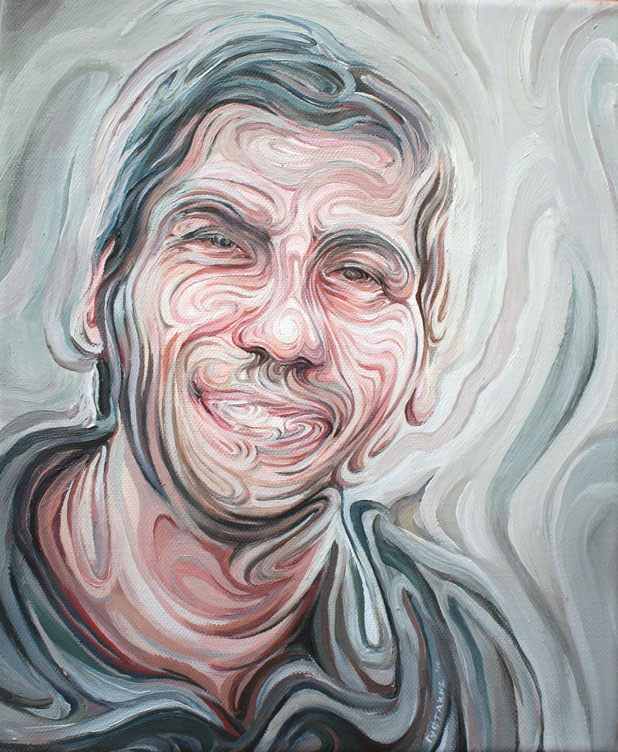
Nikos Gyftakis is currently one of my newly favorite artists. He was born in Athens, Greece in 1981. Most of his work contains elements of three different movements; Impressionism, a little Expressionism, and a small amount of Fauvism. I saw his work, I saw his technique, I read his reasoning, and I instantly wanted to use his methods and style in his pieces as the inspirational role in my self portrait.
He uses curves and circles to replaces edges and corners, in his own words "...the continuity comes in place of the discontinuity. There are no contour lines and the figures, the light, and the color all flow in space and the surroundings." In his work he is trying to show the very constant flow of energy and emotions using the flow of colors, and expressions that "whirl in time and space, bringing out enchanting melodies".
Brainstorming
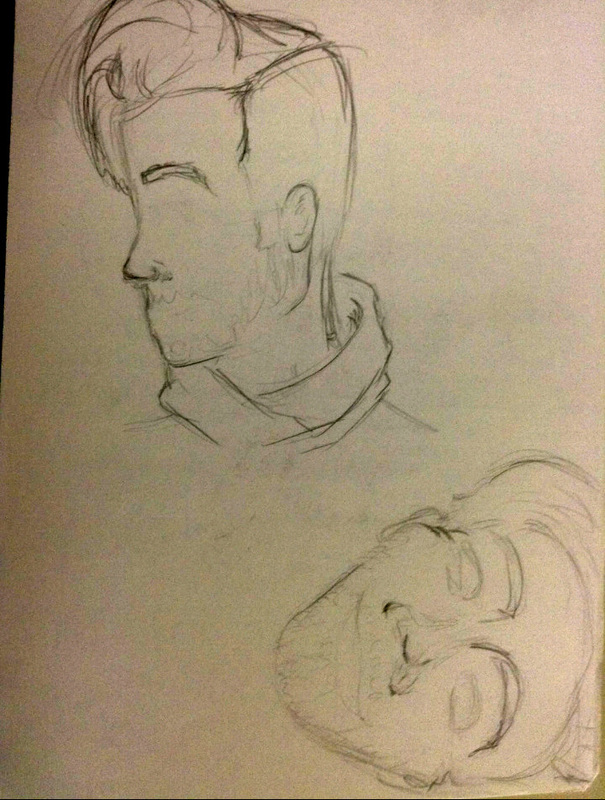
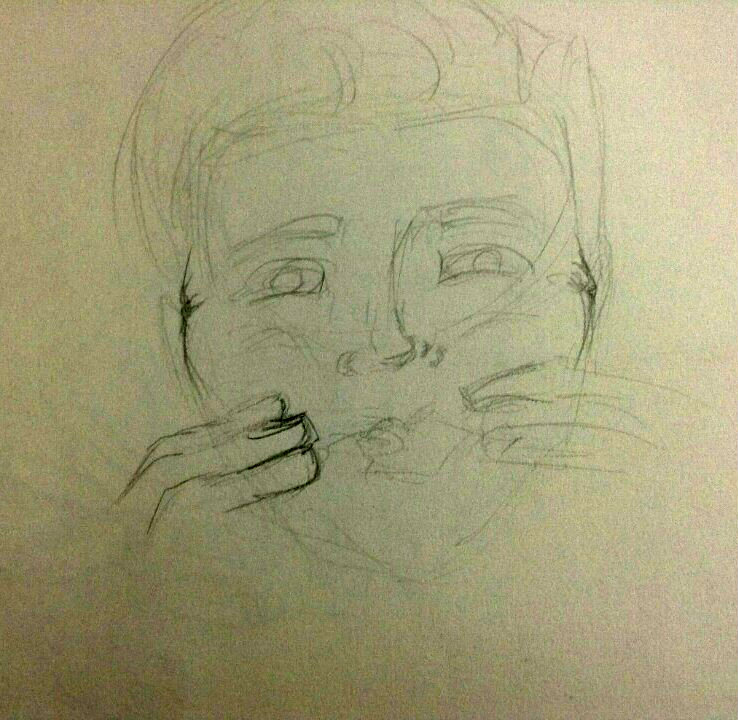
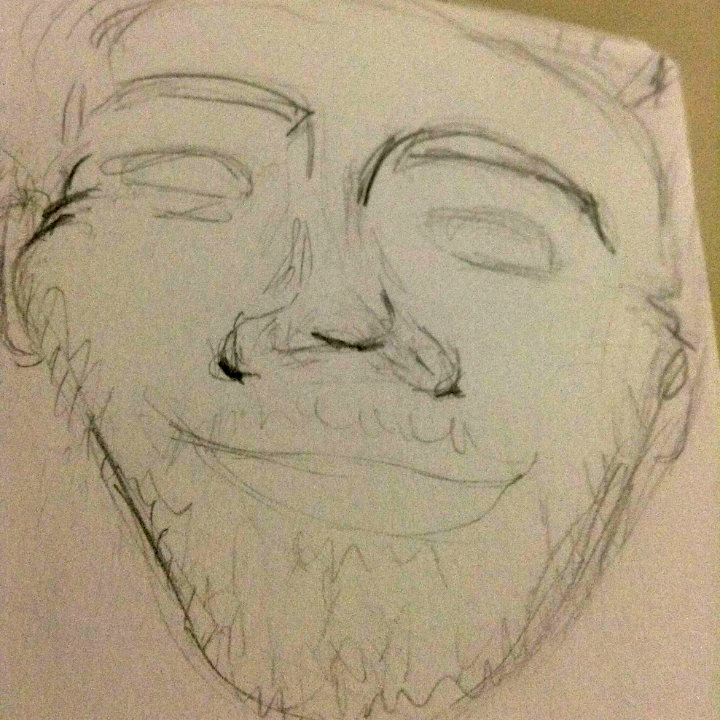
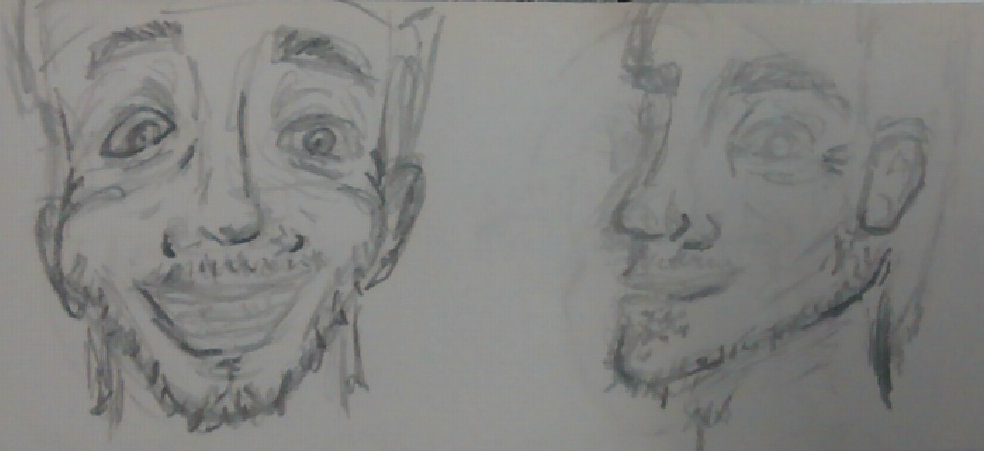
Before taking the picture, I went through several different planning sketches trying to set a pose that I would have that would be presented in a similar way as to my inspirational artists works. I was trying to get a pose that would be fairly simple but when painted with Gyftakis style it would "reveal" the emotion behind the face as does his subjects in his paintings. So the goal was simple but containing at least some emotion.
|
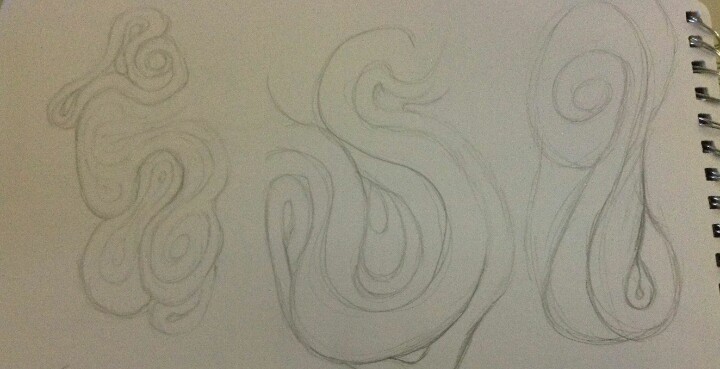
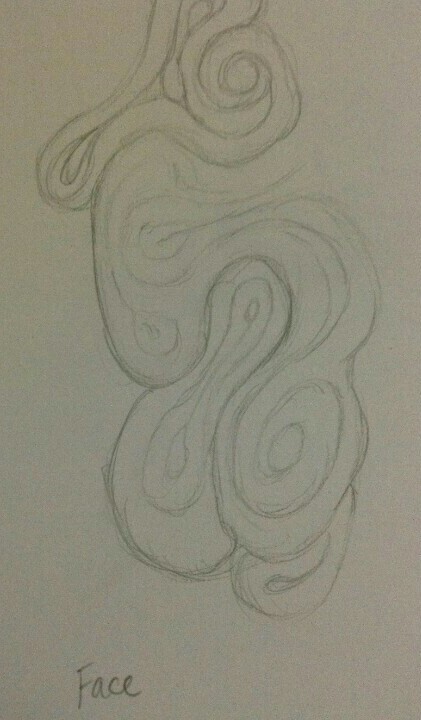
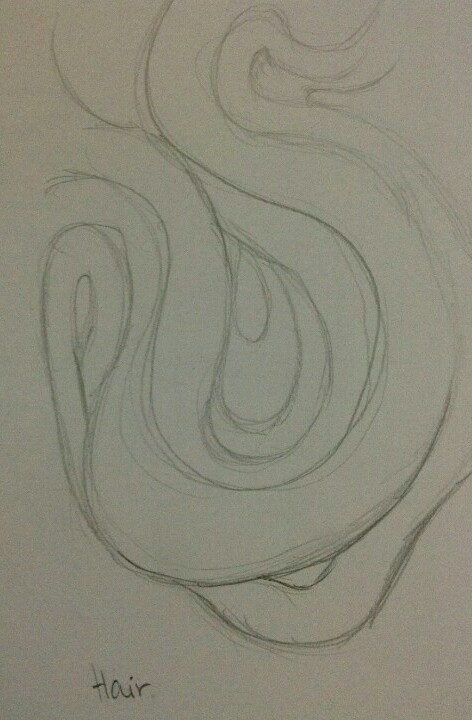
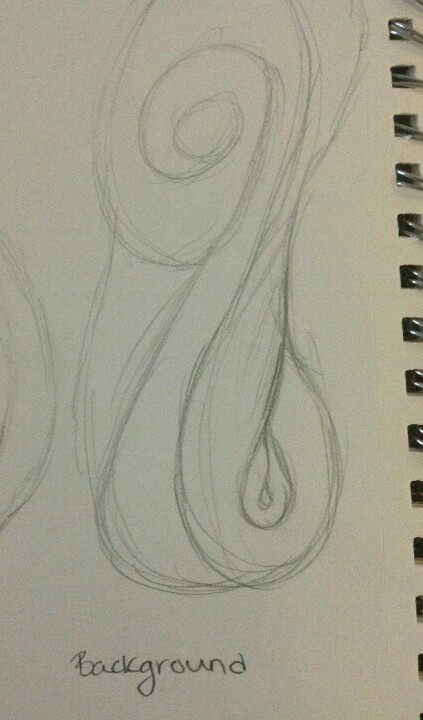
After a picture has been taken with a final desicion on a pose and the image has been drawn on to the canvas, I had to go back to the planning stages for the background. In the image I used the background was mostly white with no identifiable objects. I thought this was too boring so I decided to just simply change the color. While using Gyftakis works as reference images, I did some planning sketches to try and see how I'd use continuous lines to create fluid "swirls". I drew 3 different styles for these swirls, the first one was completely random in size and thickness. The second two sketches were done to the right of the first, varying in size and thickness. After having these 3, I realized each one of them could be great styles for three different sections of the portrait. I proceeded by labeling them.
|
|
Process/Experimentation
- Making the Canvas- Before I could really start anything, I needed to build my canvas.
- A) Gathering the Pieces- I knew the canvas was going to 3' x 3' , so I had to collect four 36" pieces of the frame.
- B) Connecting the Pieces- To connect the pieces all I had to do was slide the corners into the groove on another piece.
- C) Stapling the Corners Together- To ensure that the pieces were firmly connected, I stapled each corner twice.
- D) Cutting out the Canvas- Now that the frame was made, I placed onto the a portion from a roll of canvas and began to cut out what I'd use. When cutting out the piece of canvas I made sure to give a little bit of space between the frame and the edge of the canvas so I'd be able to fold it over the frame.
- E) Stapling the Canvas to the Wood- After folding the canvas over the wooden frame, I put six staples into each side to finally finish off the canvas building process.
- Applying Geso- Before I can start painting, or even draw the outline, I need a base for the paint on the canvas. This is where the geso comes in and is applied as if I was creating a white background.
- Taking the Picture- When taking the picture, I wasn't just smiling and taking a quick photo; I was trying to get a face that's has some emotion but at the same time isn't anything more (like putting up a piece sign or tongue out). I made sure I did this because of a lot of the meaning Nikos puts into his pieces and how they revolve around the use of wavy lines and curls to capture the continuity of emotion behind a face.
- Adding the Grid- Normally when copying an image or drawing a figure I do not like using the grid method and strongly prefer to eye-ball it which usually works well for me, although for this project I decided it would be a lot safer to use the grid method because of the large canvas area that needs to be covered. To add the grid I decided to download a simple app on my phone, I also made sure to have the same number of squares on each side so that the lengths are even. In addition, I personally thought it'd be easier to draw the image while using smaller squares in terms of area, so I chose to do an 8 x 8 grid.
- Drawing the Grid- I measured the sides of the canvas to confirm they are 3 feet (36 inches) in length, then because of the 8 x 8 grid; I divided 36 by 8 so I would know what the length of each square should be. My result was 4 1/2 inches. So I added the grid on the canvas using a pencil and ruler.
- Drawing the Base Outlines- The next easy but time consuming step was the drawing of my face. While drawing my face on the canvas using the grid method; I made sure to not only get the outline of my head and facial features such as eyes and nose or lips or hair or cheeks, but ALSO the shape for every shadow on my face as well, even the shapes for the shadowing/detailed sections for the facial hair areas. I knew that when I do this, it will make it a lot easier for me when painting those shadows or other features. Although with the hair I did not decide to draw every hair and every shadow. I did this because I knew doing this would virtually be torture to myself and a pointless waste of time. I have decided that the hair details will be done during the painting process.
- Developing a Background Idea- The first part for developing a background was first thinking of what to do. So for this I really examined the style and techniques used in the works of Nikos. I came to the conclusion that for my background to resemble his work and show his inspirational impact, I would need to create a background that is nothing but smooth and fluid swirls that fade from the subject of the painting. Before I began putting the paint on the canvas, I figured I would use my planning sketches as reference, which helped a lot in not creating swirls with a size similar to my face or hair in size and thickness.
- Creating the Texture- Once the background was developed, I was able to begin adding texture to each part of my face/body. I would do this by first adding a ground shade that I would use to fill the entire section of whatever I am adding texture to. From there I would usually start off the swirling process with a lighter shade of that same color and use that new shade to create a smooth curve/swirl where I'd find to be more light. Occaisionally I'd start of with the darker shade and use the lighter ones as highlights.
- "Swirling" Process- I used the same process as mentioned in Step 8: "Creating the Texture" for the entire piece. Each section of my face required the same technique, the only part that changes throughout each section is the color and shades used and that some sections have more or less highlighted swirls depending on the lighting. This includes the background.
Reflection
I have mixed feelings about my self portrait. I think that I accurately represented the style and form of my inspirational artist in my work in an obvious way, but I still think that I could've done that even better. I also know that I could of made a lot better use of the color in my face and have that improved so that it gives a more real feeling. Overall I liked the end result with the style and also visual appeal but I don't really enjoy the actual strokes and color use along with the overall delivery of meaning. I feel that it could be better interpreted.
ACT Connections
- Clearly explain how you are able to identify the cause-effect relationship between your inspiration and its effect upon your artwork.
- What is the overall approach the author has regarding the topic of your inspiration?
- What kind of generalizations and conclusions have you discovered about people, ideas, cultures, etc. while you researched your inspiration?
- What was the central idea or theme around your inspirational research?
- What kind of inferences did you make while reading your research?
